
Welcome to the VicoHome Camera Manual, your comprehensive guide to setting up and using your smart security camera․ This manual covers installation, features, troubleshooting, and best practices to ensure optimal performance and security for your home․
Overview of VicoHome Camera Features
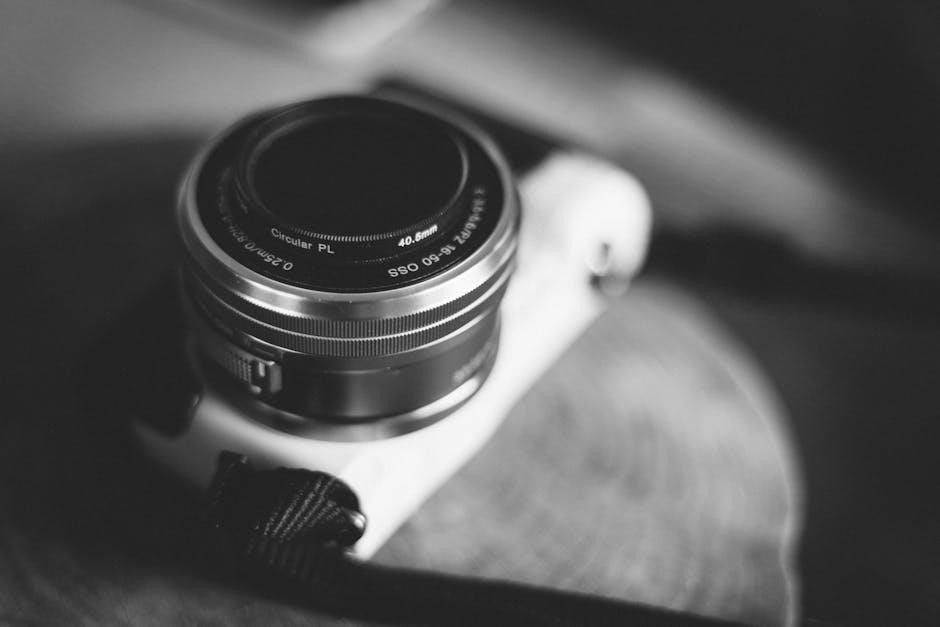
The VicoHome Camera is a wireless smart battery-powered camera designed for home security, offering a range of features to enhance your monitoring experience․ It supports 2․4GHz Wi-Fi connectivity for a stronger and more stable connection, ensuring reliable performance even through walls․ The camera is equipped with a built-in PIR motion sensor to detect movement and trigger recordings or alerts․ It also features night vision with IR LEDs, allowing clear video capture in low-light conditions․ Two-way audio enables real-time communication through the camera․ The camera supports local storage via a microSD card (up to 128GB) and is compatible with solar panels for continuous power․ Its durable design includes an IP66 waterproof rating, making it suitable for outdoor use․ These features combine to provide a comprehensive and user-friendly security solution for your home․
Importance of Reading the Manual
Reading the VicoHome Camera Manual is essential for understanding how to properly set up, use, and maintain your device․ The manual provides detailed instructions for installation, configuration, and troubleshooting, ensuring you get the most out of your camera․ It also outlines safety precautions and best practices to prevent damage and ensure optimal performance․ By following the guidelines, you can avoid common issues and enjoy a seamless user experience․ The manual is regularly updated to reflect product improvements, so keeping it handy guarantees access to the latest information․ Whether you’re a first-time user or looking to resolve specific issues, the manual serves as your go-to resource for all aspects of your VicoHome Camera․

Setting Up Your VicoHome Camera
Setting up your VicoHome Camera is quick and easy․ Start by downloading the app, connecting to Wi-Fi, and following the in-app instructions to complete the setup․
Downloading and Installing the VicoHome App
To begin using your VicoHome Camera, download and install the VicoHome App on your smartphone․ The app is compatible with both Android and iOS devices․ For Android users, visit the Google Play Store, while iOS users can find it in the Apple App Store․ Alternatively, you can scan the QR code provided in the manual or on the product packaging to directly access the download link․ Once downloaded, follow the on-screen instructions to install the app․ After installation, launch the app and create an account or log in if you already have one․ The app will guide you through the setup process, including connecting your camera and configuring settings․ The VicoHome App is free to download and offers a user-friendly interface to manage your camera settings, view live footage, and receive notifications․
Adding the Camera to the VicoHome App
After installing the VicoHome App, log in to your account․ Tap the “Add Camera” icon (usually a green button in the top-right corner) to begin the pairing process․ Ensure your camera is powered on by long-pressing the power button for 3 seconds until you hear a “Ding Dong” sound․ Open the app, select “Add a New Camera,” and follow the on-screen instructions․ The app will prompt you to confirm when you hear the camera’s sound or see its indicator light․ Next, select your 2․4GHz Wi-Fi network from the list and enter the password․ Finally, point the camera’s lens at the QR code displayed by the app until you hear a confirmation tone․ The camera will now be connected to the app, allowing you to view live footage and customize settings․
Connecting the Camera to Your Wi-Fi Network
To connect your VicoHome Camera to your Wi-Fi network, ensure it supports 2․4GHz frequencies, as the camera does not support 5GHz or enterprise-level authentication․ Open the VicoHome App, select “Add a New Camera,” and follow the prompts․ Choose your Wi-Fi network from the list and enter the password․ For optimal connection, keep the camera close to your router during setup; Once connected, the camera’s indicator light will turn solid green, and you’ll hear a confirmation sound․ Ensure your network meets the requirements for a stable connection․ If issues arise, restart the camera and retry the process․ This ensures reliable performance for remote monitoring and notifications․ Proper Wi-Fi setup is essential for seamless functionality and security․
Charging the Camera
Charge your VicoHome Camera using a Micro USB cable and a 5V/1․5A adapter․ The indicator light turns yellow while charging and green when fully charged, taking about 8 hours․ Ensure the battery is charged when the app notifies you it’s low to maintain continuous operation and avoid overcharging․
How to Charge the VicoHome Camera
To charge your VicoHome Camera, use a Micro USB cable connected to a 5V/1․5A charging adapter․ Plug the cable into the camera’s charging port and the adapter into a power outlet․ The camera’s indicator light will turn solid yellow during charging․ Once fully charged, the light will change to solid green․ Charging typically takes about 8 hours․ Ensure the camera is charged when the app notifies you of a low battery to maintain uninterrupted operation․ For cameras with a solar panel option, you can also charge via solar power, though the app will still remind you to charge it․ Avoid overcharging to prolong battery life․
Understanding Charging Indicators
The VicoHome Camera features visual indicators to help you monitor its charging status․ When charging begins, the indicator light will turn solid yellow, signaling that the battery is being charged․ Once the battery is fully charged, the light will change to solid green․ If the light flashes red slowly, it indicates a low battery level․ These indicators provide clear feedback, ensuring you can manage the camera’s power effectively․ Always check the light colors to confirm the charging status and plan accordingly to avoid interruptions in operation․
Best Practices for Battery Maintenance
To ensure long-term performance and reliability, follow these best practices for maintaining your VicoHome Camera battery․ Avoid overcharging by unplugging the camera once it reaches a full charge, as indicated by the solid green light․ Store the camera in a cool, dry place when not in use for extended periods to prevent battery degradation․ Clean the charging port regularly to maintain proper connectivity․ If you plan to store the camera for several months, charge the battery to about 50% to prevent deep discharges, which can reduce its lifespan․ Always use the provided or recommended charging cable and adapter to avoid damage․ By adhering to these guidelines, you can extend the battery life and ensure your camera operates smoothly for years to come;
Sharing Camera Access
Easily share camera access with family and friends through the VicoHome app․ Generate a QR code, invite users, and manage permissions for viewing live feeds or recordings․
How to Share Camera Access with Family and Friends
To share your VicoHome camera with others, open the app and select the camera you wish to share․ Click the share button on the homepage or in the camera settings to generate a QR code․ Share this QR code with family or friends, who can then scan it to access the camera․ Ensure they have the VicoHome app installed․ Once scanned, they will receive a confirmation notification․ Note that only the administrator can share or adjust settings, while others can only view live feeds or recordings․ This feature allows multiple users to monitor your home security effortlessly while maintaining control over permissions․
Managing Shared Access and Permissions
Managing shared access and permissions for your VicoHome camera ensures security and control․ Only the administrator, who initially set up the camera, can share or modify settings․ Others with access can only view live footage or recordings․ To manage permissions, go to the sharing page in the app, where you can revoke access or adjust settings․ Users with shared access will receive notifications when changes are made․ Ensure that only trusted individuals have access to maintain privacy․ Regularly review shared permissions to remove unnecessary access․ This feature balances convenience and security, allowing multiple users to monitor your home while keeping control in your hands․ Always update permissions if someone with access is no longer trusted or if the camera location changes․
Troubleshooting Common Issues
This section helps resolve common problems with your VicoHome camera, such as connectivity issues, app notifications, and hardware malfunctions․ Follow the steps to restore functionality quickly and effectively․
Resolving Camera Malfunction Issues
If your VicoHome camera isn’t functioning properly, start by checking the power button․ Press and hold it for 3 seconds to turn it on․ If the camera doesn’t respond, ensure it’s fully charged․ A solid yellow light indicates charging, while green means it’s fully charged․ If the issue persists, restart the camera by pressing the power button twice quickly․ For connectivity problems, ensure the camera is close to your router during setup and that you’re using a 2․4GHz Wi-Fi network․ If the camera emits no sound or light, check for firmware updates in the app․ If none of these steps resolve the issue, contact VicoHome support for further assistance․ Regularly updating your camera’s firmware ensures optimal performance and security․

Fixing App Notification and Connectivity Problems
If you’re experiencing issues with notifications or connectivity, start by ensuring your VicoHome app is up to date․ Check your phone’s notification settings to confirm that alerts for the app are enabled․ Restart the app and your device to refresh the connection․ For connectivity issues, reset the camera by pressing the power button twice quickly and ensure it’s connected to a 2․4GHz Wi-Fi network․ If notifications aren’t sounding, verify that notification tones are enabled in the app settings․ For persistent problems, uninstall and reinstall the app․ If the camera turns off unexpectedly, especially with solar panels, check power settings and ensure the battery is fully charged․ Contact VicoHome support if issues remain unresolved after these steps․
Troubleshooting Wi-Fi Connectivity Issues
If your VicoHome camera is having trouble connecting to Wi-Fi, ensure it’s placed near your router during setup․ The camera only supports 2․4GHz networks, so verify your router is broadcasting on this band․ Check the Wi-Fi signal strength in the app; a weak signal may require repositioning the camera or router․ Restart the camera by pressing the power button twice and ensure the network password is entered correctly․ If issues persist, reset the camera and reconnect it to the app․ For extended range, consider using a Wi-Fi extender․ Ensure the router’s firmware is updated and avoid enterprise-level authentication․ If problems remain, contact VicoHome support for further assistance․ Proper connectivity is essential for remote access and notifications․
Thank you for using the VicoHome Camera Manual․ By following these guidelines, you’ve ensured optimal performance and security․ Explore advanced features and stay updated for the best experience․

Final Tips for Optimal Camera Performance
To ensure your VicoHome Camera performs at its best, always charge it using the provided 5V/1․5A adapter․ Keep the camera near your router for a strong Wi-Fi signal․ Regularly update the app and firmware for the latest features and security patches․ Clean the camera lens periodically to maintain clear video quality․ For shared access, ensure all users have the latest app version․ If using a solar panel, check settings to avoid nighttime shutdowns․ Test notifications after updates to confirm they’re working․ Store the camera manual for future reference and consult it for troubleshooting․ By following these tips, you’ll enjoy reliable performance and enhanced security for your home․